
How to Replace a Mechanical Seal on a Pump (Step-by-Step)
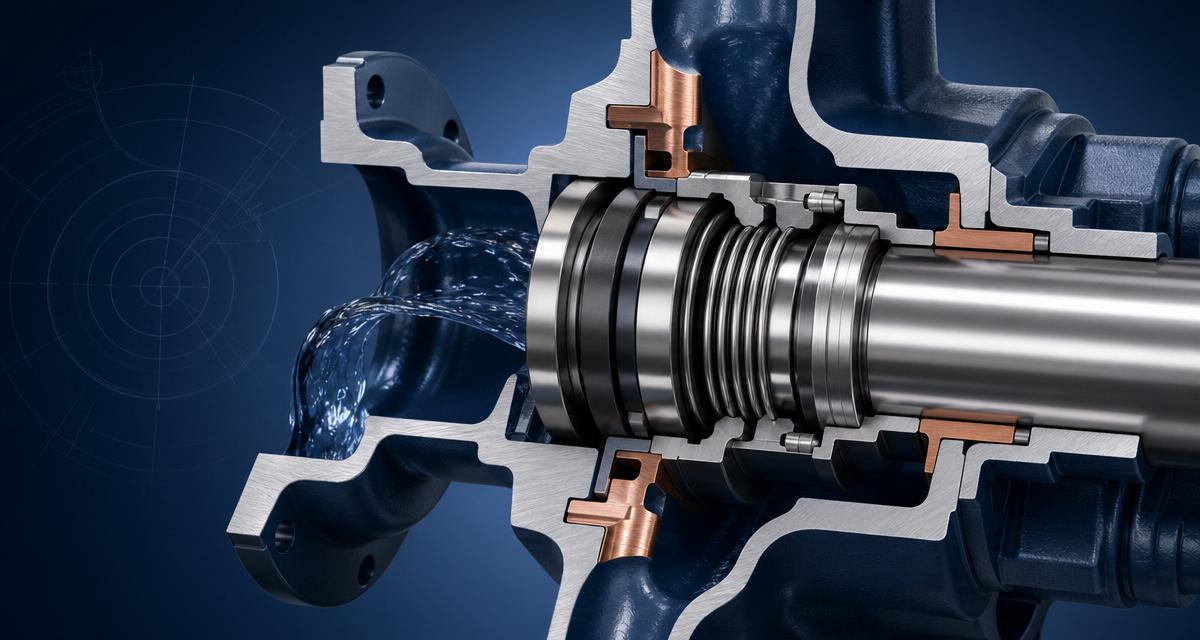
Replacing a mechanical seal is a routine maintenance job on centrifugal pumps, but small mistakes cause most premature failures. This guide walks through the procedure step-by-step for a standard component or cartridge seal on an ANSI or DIN pump. Always follow your plant’s lock-out/tag-out and confined-space procedures — this is a general reference, not a substitute for equipment-specific instructions.
Before you start
- Confirm the correct replacement part number. Cross-reference the OEM number against our product catalog or contact us with the pump make and model.
- Gather tools: torque wrench, feeler gauges, dial indicator, seal picks, isopropyl alcohol, lint-free wipes.
- Order a new gland gasket, sleeve O-ring and any impeller hardware you might damage on removal.
- Review the pump’s cross-section drawing to confirm seal chamber dimensions.
Step 1: Lock out and depressurise
- Lock out the motor at the breaker; tag the starter.
- Close suction and discharge valves; open a vent to atmosphere.
- Drain the pump casing to a safe container. If the process is hazardous, purge with nitrogen or water.
- Disconnect any seal flush, quench or barrier fluid lines. Bag the fittings.
Step 2: Disassemble the pump wet end
- Remove the casing bolts and lift the casing away.
- Remove the impeller: back off the impeller nut, then use a wheel puller if it is stuck. Do not hammer on the shaft.
- Remove the gland bolts and slide the gland out with the stationary face.
- Slide the rotating assembly and sleeve off the shaft.
If you find scoring, pitting or corrosion on the shaft or sleeve, replace them — a new seal will fail on a damaged surface.
Step 3: Clean and inspect
- Clean the seal chamber with alcohol and a lint-free cloth. Any debris will destroy the film in minutes.
- Inspect the sleeve for scoring where the dynamic O-ring rides. Polish or replace as needed.
- Check the shaft runout with a dial indicator: less than 0.05 mm (0.002 in) at the seal location.
- Measure the seal chamber depth and bore; confirm they match the new seal drawing.
Step 4: Install the new seal
For cartridge seals:
- Lightly lubricate the sleeve bore with clean process fluid or the manufacturer’s installation lube (never grease on a face).
- Slide the cartridge on until it seats against the shaft shoulder.
- Torque the gland bolts in a star pattern to the pump manufacturer’s spec.
- Set the drive collar screws against the shaft.
- Remove the setting clips — this is critical. Running a cartridge with clips in place destroys the seal on startup.
For component seals:
- Install the stationary face into the gland; verify it is flush and square.
- Slide the rotary assembly onto the sleeve; set the working length to the manufacturer’s dimension using a caliper or the pump’s reference face.
- Install the gland with a new gasket; torque evenly.
- Reset the drive-collar or set-screw to lock the rotary at the correct compression.
See our cartridge vs component guide if you are unsure which style you have.
Step 5: Reassemble the pump
- Reinstall the impeller and torque to spec.
- Reinstall the casing with a fresh gasket.
- Reconnect flush, quench or barrier lines. If the seal uses API Plan 53 or 54, refill and pressurise the barrier system before startup.
Step 6: Startup checks
- Rotate the shaft by hand. It should spin freely with only slight face drag.
- Verify direction of rotation matches the pump nameplate.
- Open the suction valve first, then the discharge. Vent all air.
- Start the pump and monitor seal chamber temperature and flush flow for the first hour.
- A new seal may weep for 5-10 minutes as the film establishes. Continuous dripping after 30 minutes indicates a problem — see our failure modes guide.
Need a replacement seal fast?
Send us the OEM part number, the pump make and model, or a photo of the old seal. We cross-reference to every major brand and stock most designs for 2-4 week delivery. Request a quote.
Related Articles
How to Select a Mechanical Seal for a Slurry Pump (2026 Guide)
Step-by-step selection guide for slurry pump mechanical seals: face materials, flush plans, single vs double, and OEM cross-references for mining, FGD and dredging service.
Engineering GuideAPI Plan 32 vs Plan 53: Which Mechanical Seal Flush Plan to Use
Side-by-side comparison of API Plan 32 (external flush) and Plan 53 (pressurized barrier) for mechanical seals — costs, applications, piping, and when to choose each.
TroubleshootingMechanical Seal Failure Modes & Troubleshooting Guide
Diagnose mechanical seal failures fast: heat checking, blistering, chipped faces, dry-run damage, elastomer failure and installation errors — with fixes for each.
Explore Related Seal Categories
Browse the seal families most closely tied to this article:
Need a replacement mechanical seal?
Browse our catalog of high-performance replacement seals, or send us your equipment details and our engineers will recommend the right seal for your application.